Your step-by-step guide to building a Confluence knowledge base with Refined

Learn how to build a knowledge base with Refined Sites for Confluence in six simple steps.
Congratulations. If you’re reading this, you’re likely gearing up to take your Confluence knowledge base to the next level with a custom, website-like experience for users.
The benefits of doing so are many. Among them: easy-to-access information, intuitive navigation, improved UX, and a theme to match your brand.
Follow these steps to get started building a knowledge base with Refined Sites for Confluence:
- Lay a foundation in Confluence: Prepare your content strategy, set your permissions
- Start building your knowledge base in Refined
- Theme your Confluence knowledge base in Refined
- Customize the landing pages on your Confluence knowledge base site
- Add the finishing touches
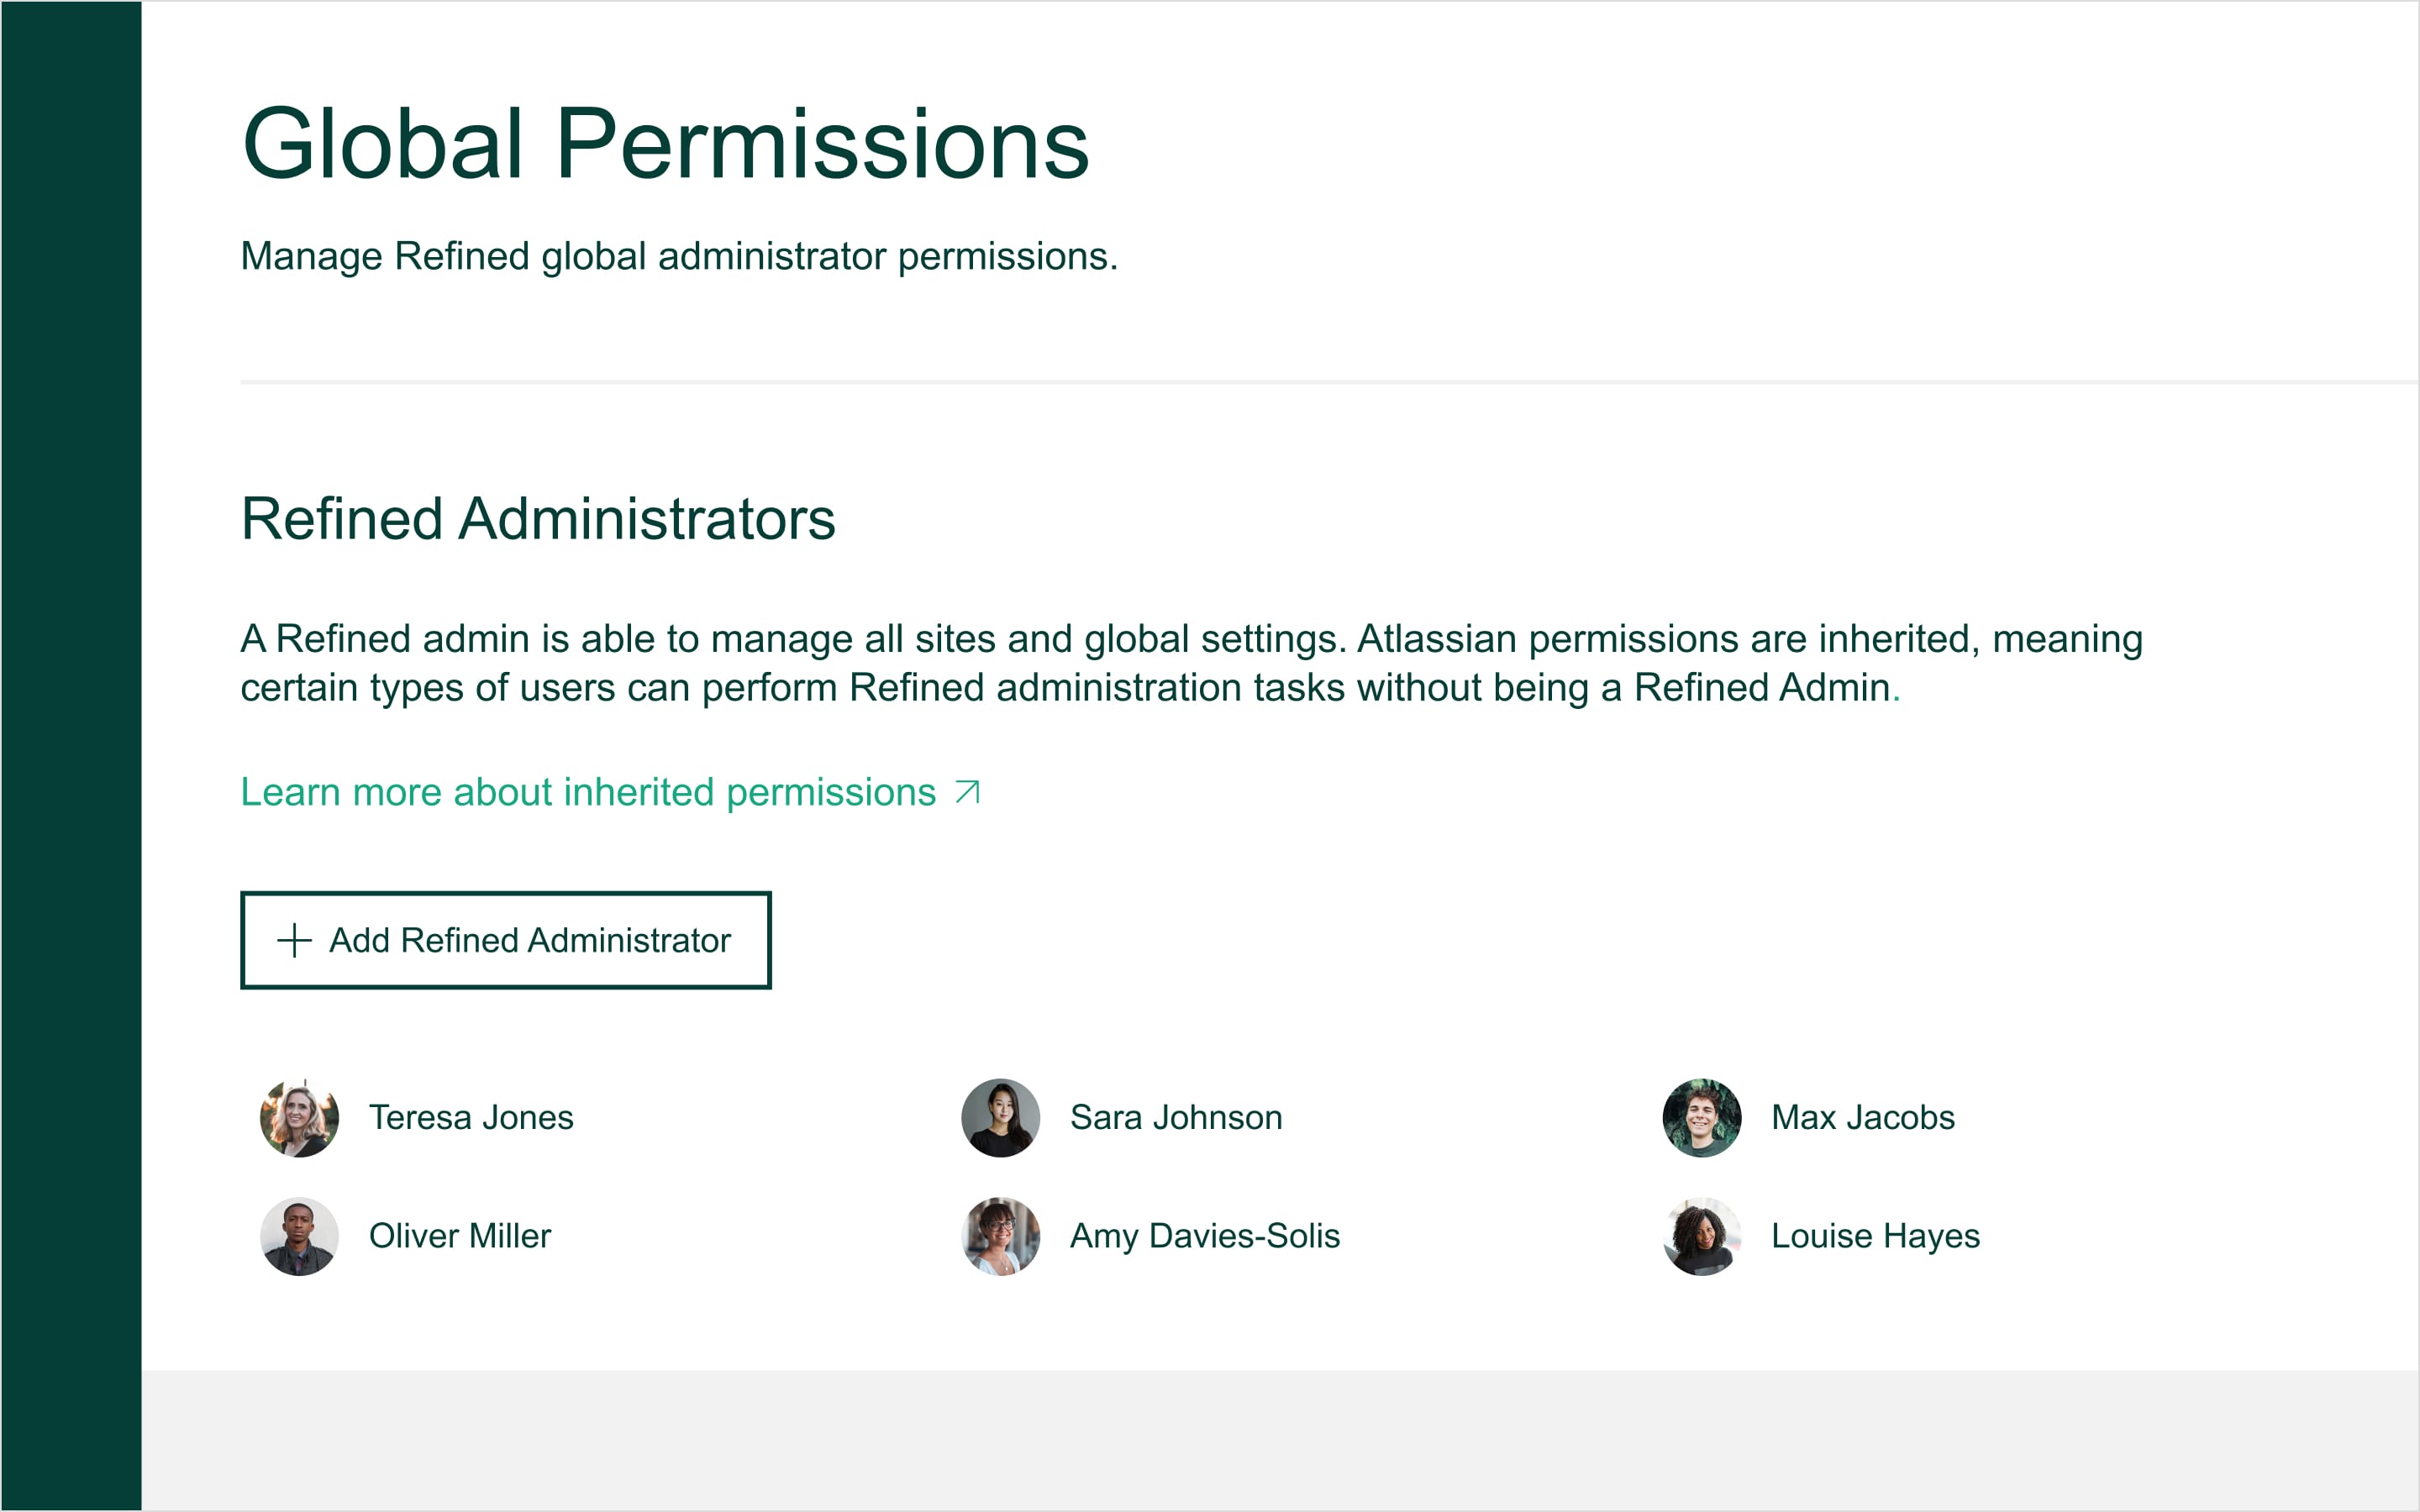
- Delegate admin permissions to key licensed Confluence users
1. Lay a foundation in Confluence: Prepare a content strategy, set your permissions
First thing’s first: Before you start building your knowledge base in Refined, you’ll want to map out your content strategy. That means organizing your content in Confluence and later, in Refined, so that navigation is intuitive to users as they scour your site for information.
In Confluence, you’ll want to group related pages into parent pages, and parent pages into spaces. Spaces will serve as the building blocks of your knowledge base, so it’s important to align them with user needs. For example, if users will be seeking knowledge according to teams, every team could have a knowledge-focused space.
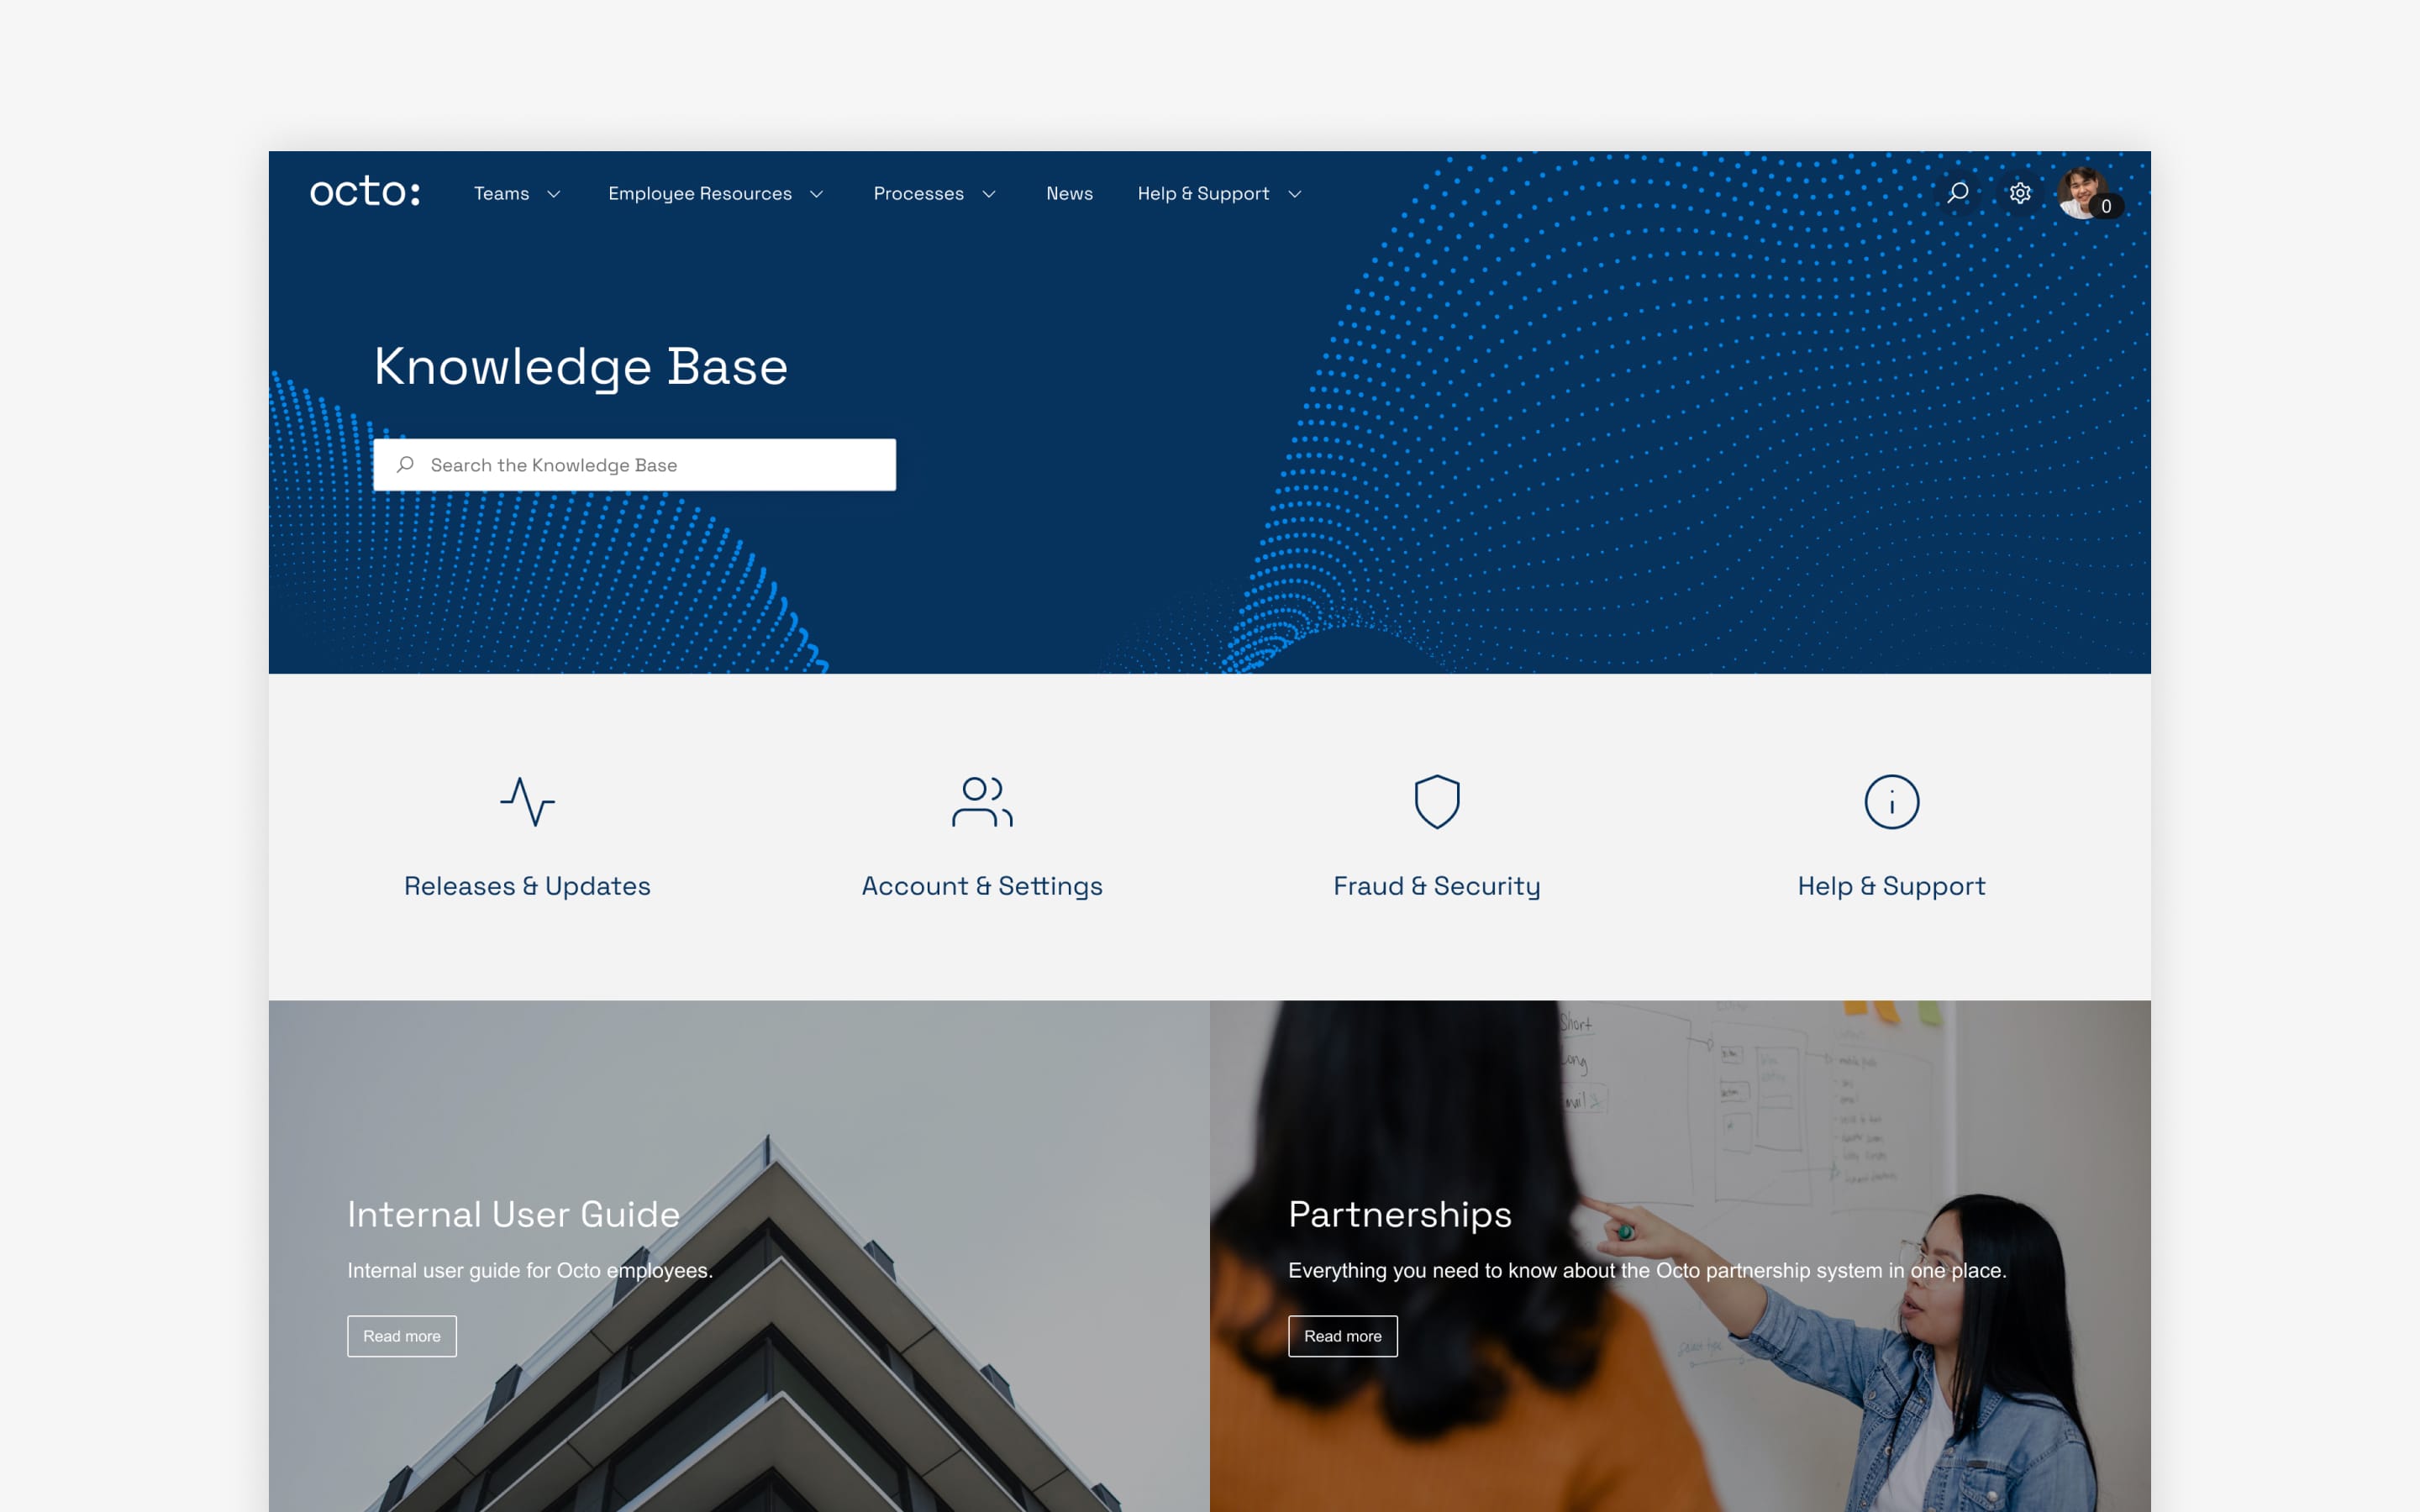
In Refined, you’ll be able to group spaces into Refined Pages, which can serve as buckets for related spaces. For example, if users come to your site seeking different categories of knowledge (such as FAQs, Directory, Onboarding, and so forth), and those categories each contain one or more Confluence space, you could group them under Refined Pages, and the names of those will appear as menu items at the top of your site (We explain this more in the next section).
You’ll also want to check on your Confluence permissions. Refined respects permissions set in Confluence to ensure that the content on your knowledge base is seen only by the users intended to see it.
Tip: Don’t overload Confluence pages with content. Macros from Refined Toolkit can help you structure content on-page to make it organized and easy to digest. We recommend looking into the Step, Tab and Expand macros.
2. Start building your knowledge base in Refined

With everything in order in Confluence, you can move into Refined to start building your site.
Create a site:
- Navigate to Refined Administration and click Sites in the left-hand menu.
- Select the Plus icon to create a site.
- In the Create Site dialogue box, enter your site name and, on cloud, subdomain.
Click through to your site to start adding content to the site structure:
- Select the Add item button on the right-hand side of the site structure.
- Add a Refined Page. Refined Pages serve a dual role: (1) as navigation items (they’ll live in the navigation menu top-of-site) and (2) as buckets for related Confluence spaces. Spaces nested under Refined Pages will appear as items in a drop-down menu when users select the space in the navigation bar.
- Arrange the items in the s according to your desired site structure and navigation. Left-justified items will appear as navigation links at the top of your site. Nested spaces beneath them in the site structure will appear in drop-down menus.
Sites are just one way to organize Confluence content with Refined. Learn 5 different ways to organize your knowledge base.
3. Theme your Confluence knowledge base in Refined
A theme allows you to apply your brand’s look and feel to your Confluence knowledge base. Themes consist primarily of colors and backgrounds, but there are more ways to make your brand come to life, including by adding custom imagery and branded iconography.
You can apply a theme in the site structure by clicking the theme icon and selecting from a set of existing or default themes. You can also create a new theme under the Theme tab on the left-hand menu.
Add your company logo under the Configuration tab (or via Settings on Data Center).
Learn how to theme your Refined Sites for Confluence site in this video.
4. Customize the landing pages on your Confluence knowledge base site
Refined Pages come to life in the page builder, where you can add and arrange modules to display Confluence content. Modules are also tools to hone the user experience by highlighting important information and directing users toward frequently accessed or important pages, spaces, and links.
Play around with modules using the preview functionality, which lets you review the front end of your site before publishing.
Below are three modules often applied to knowledge base builds:
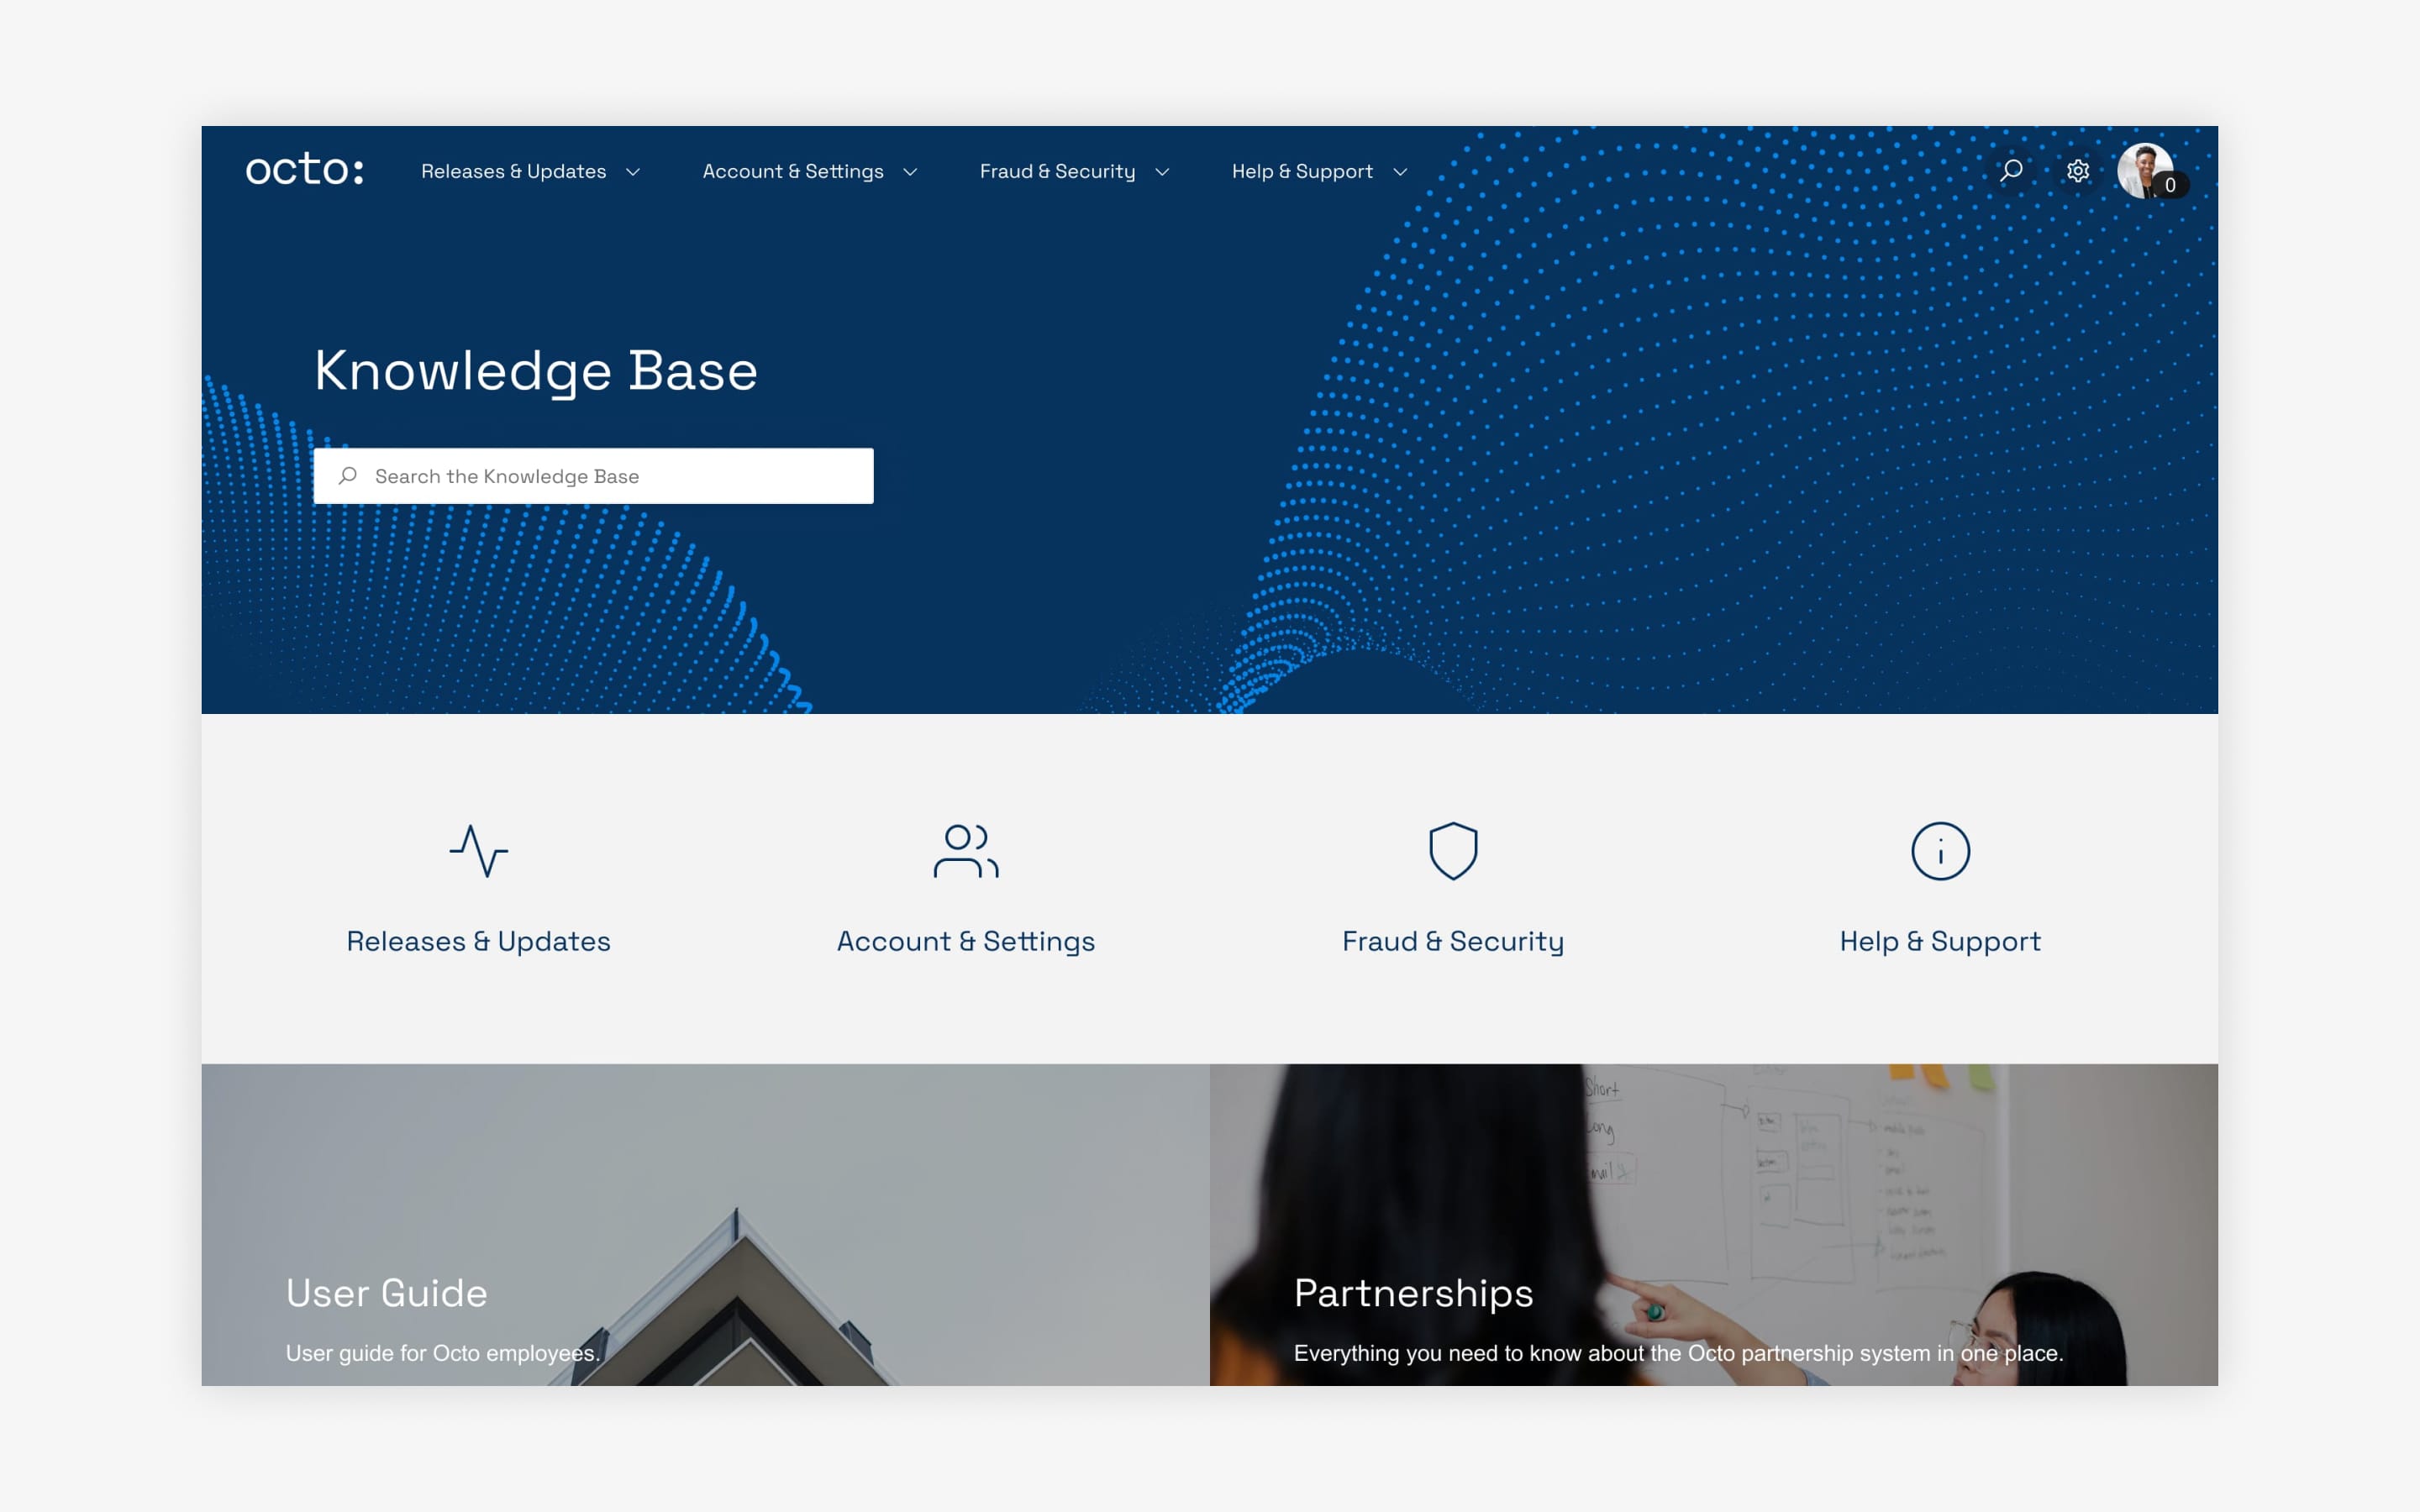
- Navigation modules: These are modules that allow you to direct users around your site. We recommend aggregating information into topics or reasons for visiting, and then using navigation modules to direct users accordingly. We also recommend customizing the modules to match your site’s look and feel by, for example, adding custom imagery or iconography. Explore navigation modules in depth on our documentation site.
- Activity Stream modules: Activity streams are useful in a knowledge base because they show recently updated content in an easy-to-browse list format, allowing users to keep pace with new or modified content in Confluence. Customize which updates are displayed by filtering according to Confluence labels, spaces, or contributors.
- Pages modules: The Pages module displays links to Confluence pages according to your filter settings for the module. We recommend displaying frequently accessed pages to help users navigate to common destinations without spending too much time searching or clicking around. Opt to display pages as cards or a list — whatever works best for your users.
Tip: If you have multiple knowledge bases, or multiple landing pages within your knowledge base, you can import/export layouts for quicker builds and a consistent look and feel. Learn how it's done.
5. Add the finishing touches
Once you have your site structure in place, consider working with these features to personalize and improve the user experience.
- Page view permissions: From each section on a Refined Page, you can set view permissions, which allow you to show modules to some users and hide them from others. Effectively, different users and user groups can have entirely different experiences on-page, depending on what’s relevant to them. Set access to logged-in or non-logged-in users, limit access to certain user groups, or set no permissions at all for open access. (You can also set permissions for who can access the site itself.)
- Announcement banners: You may not need these right away, but it’s good to know they’re available when you want to broadcast important updates or alerts to users. Choose where you want to display announcements: on your site’s home page, a specific landing page, or throughout a space.
- Search settings: Do you expect users to search for certain pages often? If so, you can help those users by promoting search results, or links that pop up as search results based on key search terms.
6. Delegate admin permissions to key licensed Confluence users

Finally, think about how you plan to maintain the site going forward. Is it a one-person job? Or are there other users or content creators who should have the ability to modify the site structure and navigation, layouts, themes, etc.?
If your answer is the latter, you can delegate admin permissions to key users. Those users don’t have to be Confluence admins, they just need to be users in your Atlassian organization.
More resources for your knowledge base build
- Adding a Confluence knowledge base to a support site? We can help.
- Designing your knowledge base from scratch? Read our designer tips.
- Need some inspiration for your knowledge base build? Take a look at these public Refined knowledge bases we love.
Questions? Reach out to support.
Try Refined for Free for 30 days on the Atlassian Marketplace.
Some instructions and features outlined in this article might differ for server and data center deployments.
Read more about


Try Refined free for 30 days


